In another effort to save you hundreds of dollars in horribly expensive casting materials, here's how you can make flexible armor pieces on the cheap.
Materials Needed
•Liquid Latex
•Apoxie Sculpt (or similar)
•Mold release (optional)
•Plastic wrap or tape
•Toothpick or throwaway brush
•Small sharp scissors
•Sick nasty mad sculpting skillz
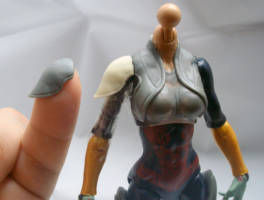
First you're going to sculpt a hard copy of the armor directly on the figure.
Use plastic wrap to tightly cover the part you'll be sculpting on. This lets you easily remove the sculpted piece later on.
Once the clay is hardened, make any corrections/sanding/etc. Make it look good.
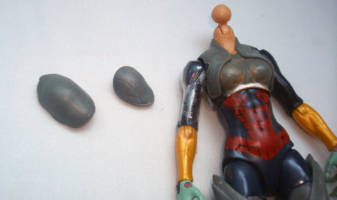
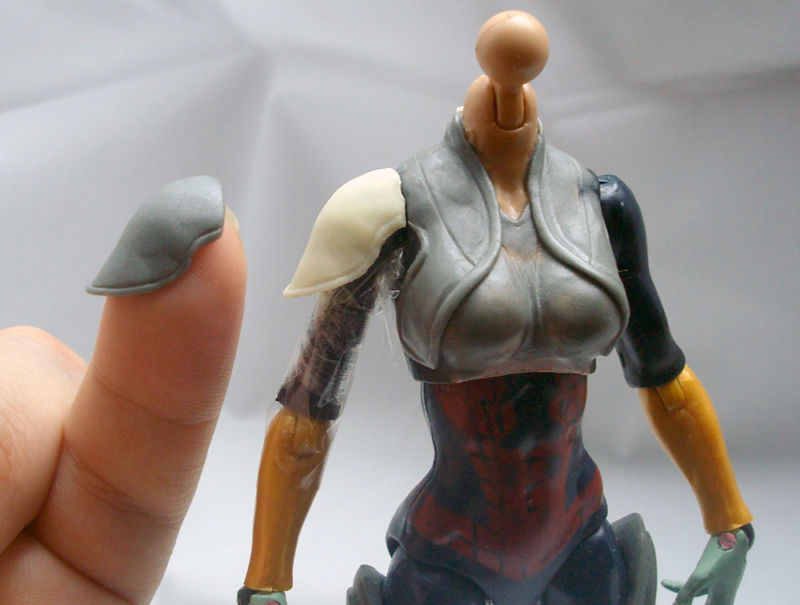
Here I created a shoulder piece. Obviously I need this thing to be flexible otherwise it would block the articulation.
Carefully remove the sculpted piece.
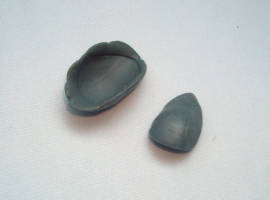
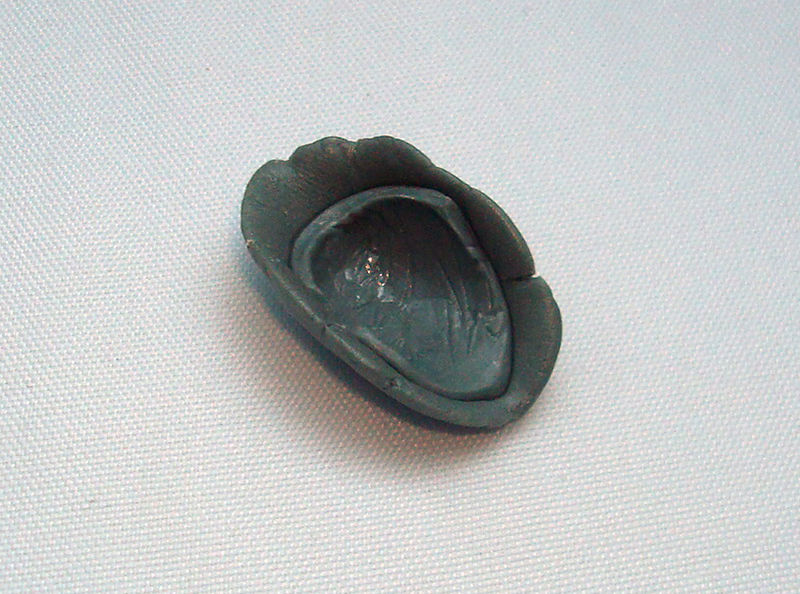
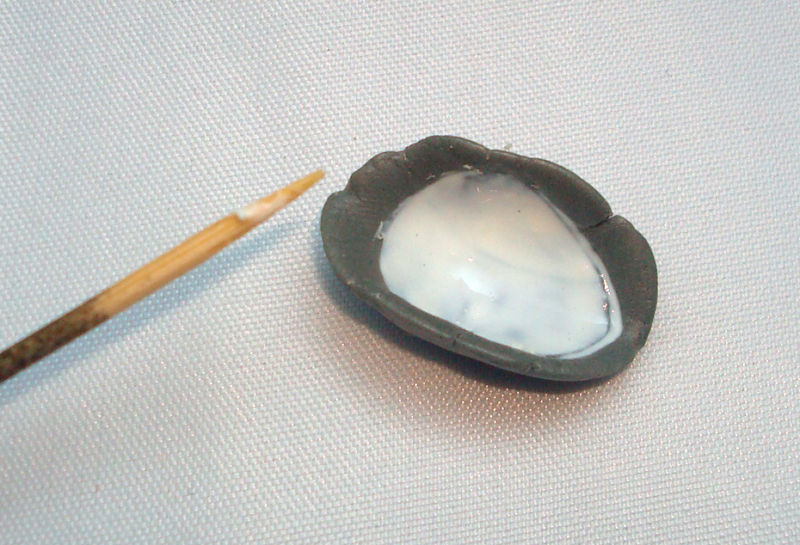
Mix enough apoxie sculpt to create a thin shell to cover the face of the armor piece. Maybe 1mm or 2mm is enough. You'll use this to make a simple push-mold.
Set the apoxie sculpt aside. Wait until the apoxie is soft enough to pick up details but firm enough to hold its shape. It will also be much less sticky at that point.
(This is optional, but recommended)
Add a drop of water or spray some mold release on the armor piece.
Firmly press the apoxie sculpt onto the armor piece. You want it to pick up all the details you sculpted, so be thorough.
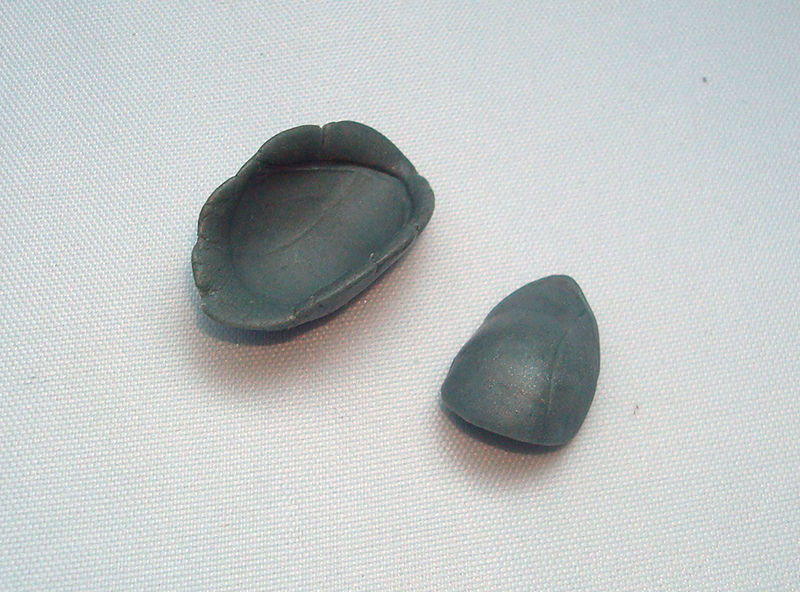
When the apoxie sculpt is a little harder, but still slightly flexible, gingerly pry out the armor piece with a smooth tool. Try not to deform the apoxie too much. It's not the end of the world if it's a little warped, the latex is flexible so you can glue it down anyway. Just don't damage the details inside.
If you find this too hard to do, use mold release as suggested, that way you can just leave the pieces together and hopefully pry them apart later.
Once the mold is ready, smear a little latex in there (you don't need mold release for this). This first layer will pick up all the details in the mold, so make sure it's a smooth even coat.
Let the latex dry and keep adding layers until it's the thickness you want.
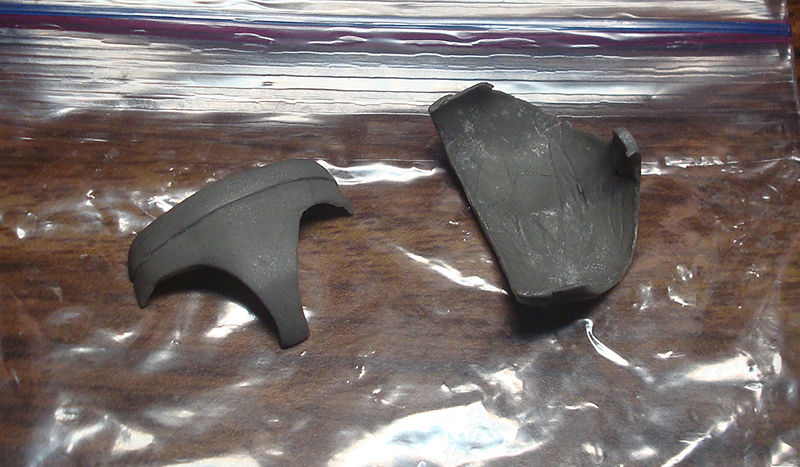
When you're happy, just yank the latex piece out.
Use the scissors to trim any excess latex. It helps a lot if you do a neat job during the previous step because trimming latex can be tricky.
And that's it. Now you can paint and attach the armor piece to the figure however you want.
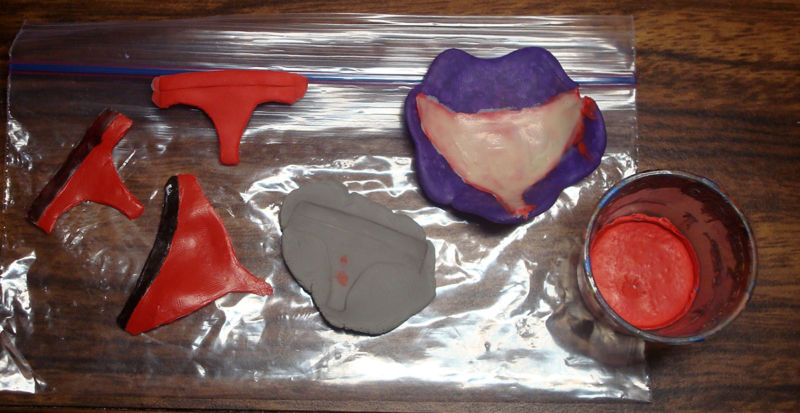
Here's another example, sculpted hard copies of underpants on the Thundra figure. They're fragile, so once you carefully pop them off the figure, be sure to reinforce the inside by brushing it with super glue or whatever.
It doesn't matter how the inside looks.
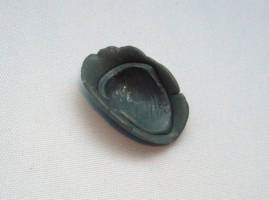
Then I carefully pressed some Sculpey onto them to pick up all the details, and carefully peeled it off. Try not to stretch the molds, you can flex them a little without problems though. Bake to harden.
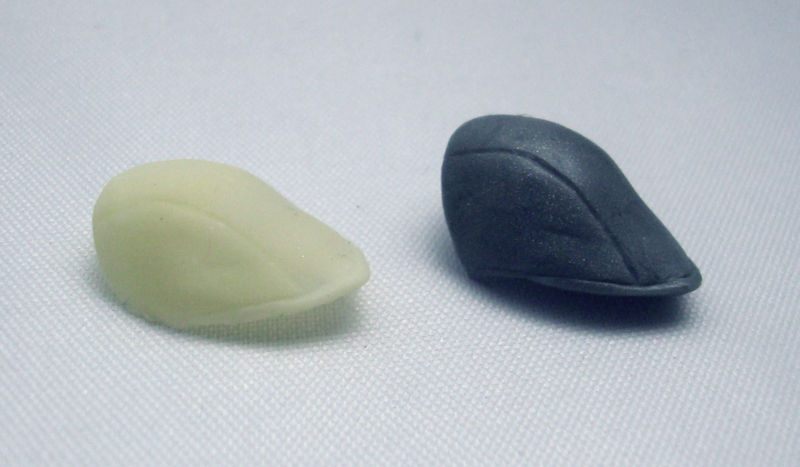
The left two pieces with black belts are painted.
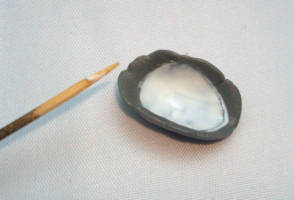
As an experiment, I mixed a little acrylic paint into the liquid latex to tint it red, then smeared it around in the mold as the first layer. The following layers were just normal latex.
Note the satin versus flat finishes.
The tinted latex is just as strong. It of course doesn't require painting the red parts, but I suggest you at least apply a quick coat of sealer because latex attracts dust and crap, and it's hard to pick off. So, don't peel the latex out of the mold until you're ready to paint/seal it.
Then trim any excess and simply wrap the pieces onto the figure. I don't know how to keep them on, maybe with tape? Ideas are welcome!
You can apply this tutorial to larger armor pieces too of course.
Customizing can be a fun, but dangerous hobby. These tutorials are contributed by other customizers. Some of the things recommended in the tutorials may be dangerous, such as the use of boiling water or sharp objects. You shouldn't attempt anything mentioned without adult permission and supervision. Figure Realm and/or the authors of the tutorials are not liable for any injuries or damages occurring from any attempt to follow suggestions in these tutorials.


![Creating Flexible Armor Custom Tutorial Picture #1 [Materials Needed]](userimages/customtutorials/200/thumb_109-1-5aa376faedf2e.jpg)


 Update Your Tutorial
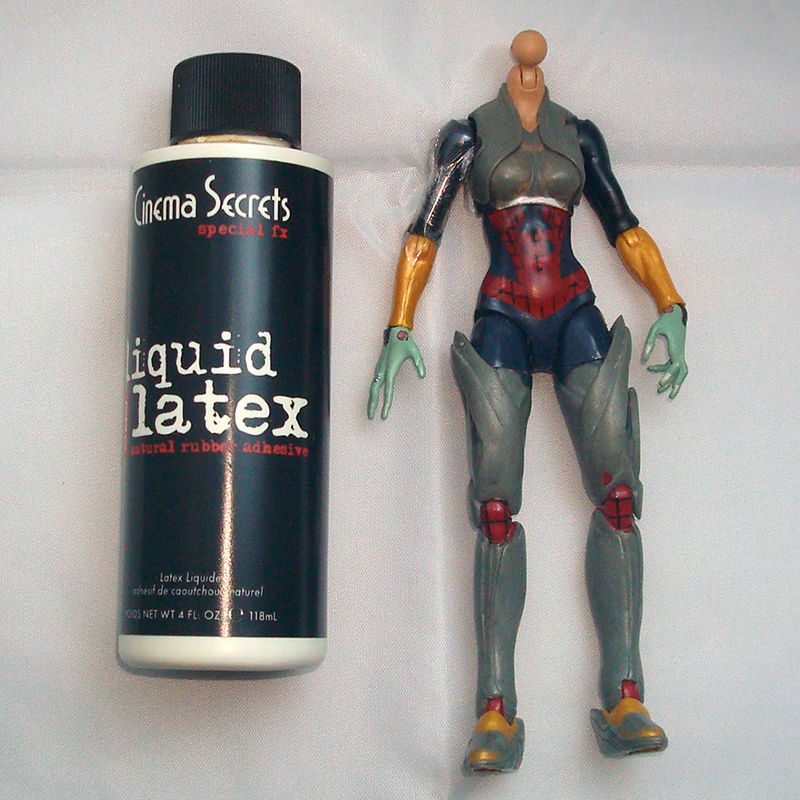