Attaching Cast and 3D Printed Heads to Neck Balls with Foam Strips Custom Tutorial
The second most awkward tutorial title returns with a foamy vengeance!

Please wait...
Spontaneously I'll get an idea and smack myself for not having thought of it before.
Forget using messy hot glue and vaseline, forget sticky Mod Podge or expensive ProCreate, all you need to easily attach heads to a neck peg is a strip of foam.
And careful dremeling.
And a little glue if you want.
And vodka? I don't know, it's your projekt, comrade.
3D printed Clone Trooper helmet and cast head
•Dremel a hole in the head that's slightly wider than the neck peg/ball.
•Make the hole deep enough so that the head rests at the height you want. Doesn't have to be perfect, you can easily fix it later.
=====
I 3D print my own clone trooper helmets now in resin. They're as convenient as cast heads but without all the crooked mold lines.
The Jango head is a nice cast by StarWarsGeek.
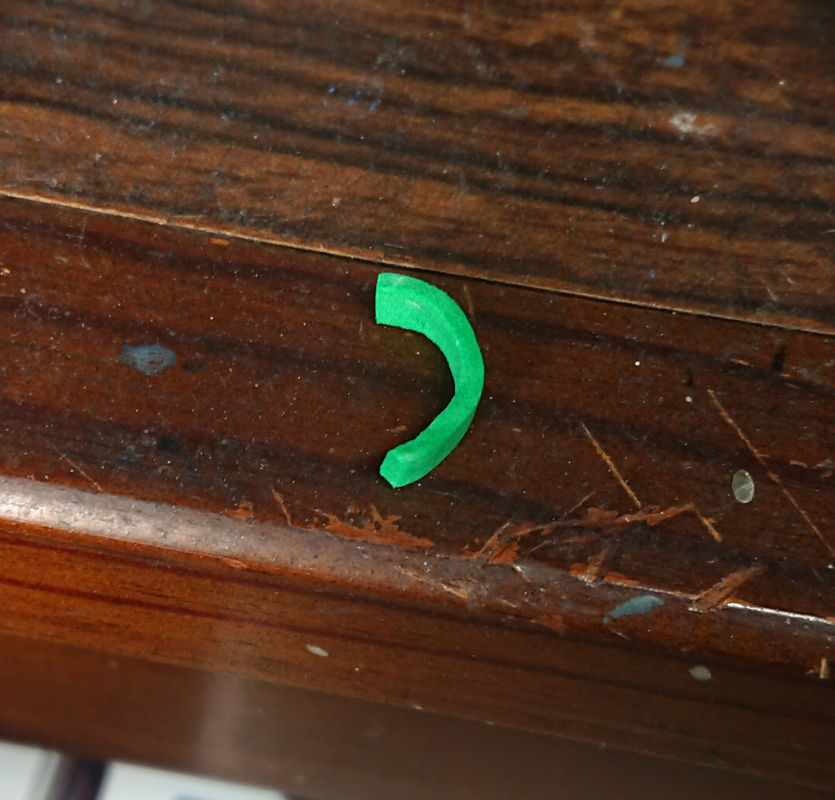
Strip of foam
•Cut out a strip of foam.
This is ordinary craft foam, get a few different thicknesses, it'll be handy for fine-tuning the head's grip on the neck ball.
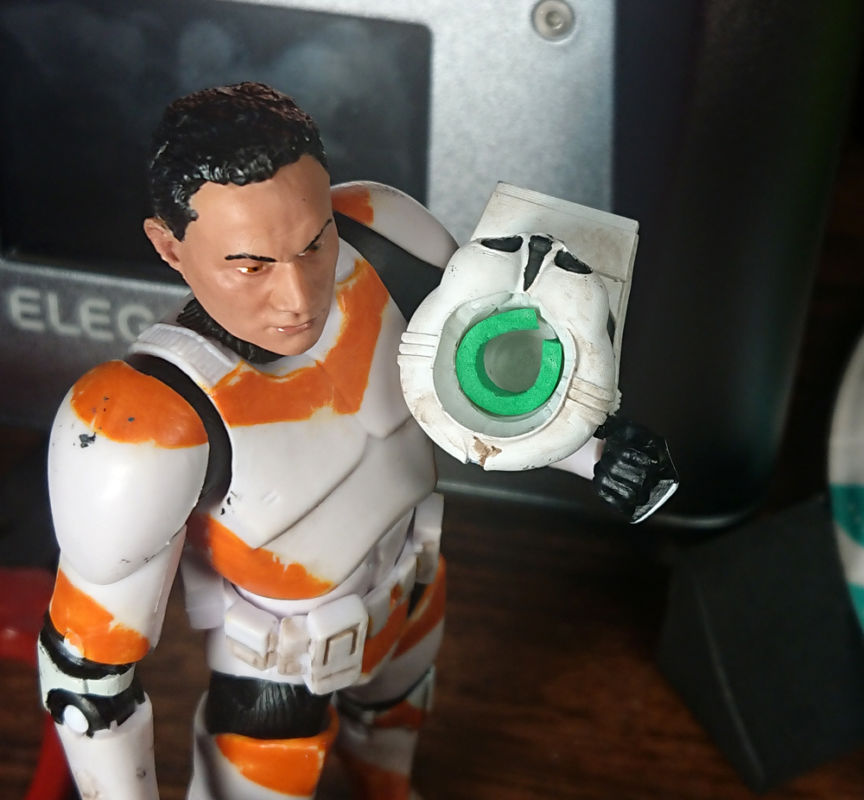
Place the strip in there
•Snip the end so you can neatly coil the foam in the hole you made.
•Pop the head on to test the fit. If it's too loose use a thicker foam, or just add another strip.
•You can glue the foam in there, but it's not necessary. I recommend doing it for commissions though, so your customers don't have to deal with a piece of foam popping out when they swap heads.
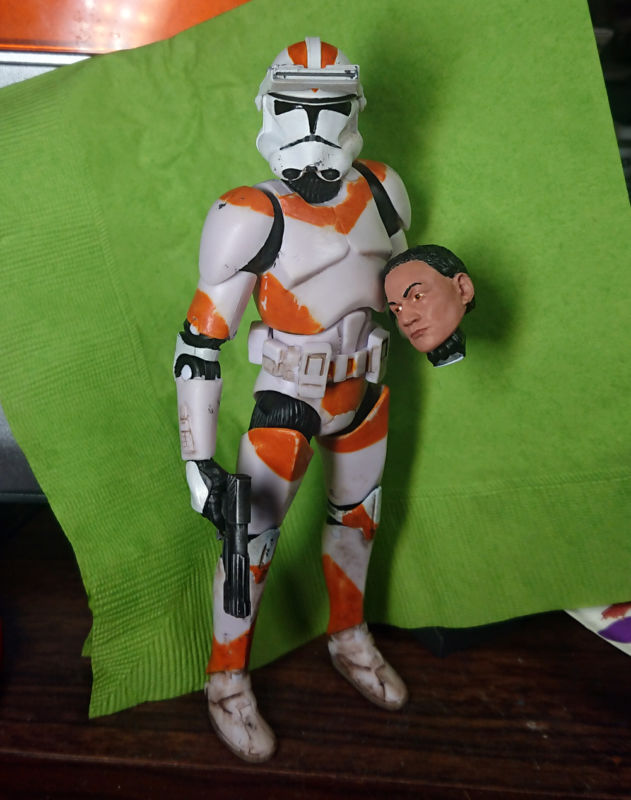
Profit
•That's it!
Since we're using foam, you can adjust the head's grip/stiffness easily. If you drill the hole deep enough you'll most likely be able to raise and lower the head to any height you want too.
This is one of the easiest, least messy ways to attach heads, but keep experimenting to find more!
For example, you could also simply stuff the head with masking tape or bits of fabric until it grips the neck ball. You could try stuffing the hole with a kneaded eraser or Sugru instead of Apoxie Sculpt. Lots of options!
Disclaimer
Customize at your own risk!
Customizing can be a fun, but dangerous hobby. These tutorials are contributed by other customizers. Some of the things recommended in the tutorials may be dangerous, such as the use of boiling water or sharp objects. You shouldn't attempt anything mentioned without adult permission and supervision. Figure Realm and/or the authors of the tutorials are not liable for any injuries or damages occurring from any attempt to follow suggestions in these tutorials.
User Comments
Custom on eBay
Previous / Next Custom Tutorial


![Attaching Cast and 3D Printed Heads to Neck Balls with Foam Strips Custom Tutorial Picture #1 [3D printed Clone Trooper helmet and cast head]](userimages/customtutorials/200/thumb_114-1-5db7de6a39eae.jpg)

![Attaching Cast and 3D Printed Heads to Neck Balls with Foam Strips Custom Tutorial Picture #2 [Strip of foam]](userimages/customtutorials/200/thumb_114-2-5db7de6196462.jpg)
![Attaching Cast and 3D Printed Heads to Neck Balls with Foam Strips Custom Tutorial Picture #3 [Place the strip in there]](userimages/customtutorials/200/thumb_114-3-5db7de70ed550.jpg)
![Attaching Cast and 3D Printed Heads to Neck Balls with Foam Strips Custom Tutorial Picture #4 [Profit]](userimages/customtutorials/200/thumb_114-4-5db7de7adb3a3.jpg)
 Update Your Tutorial
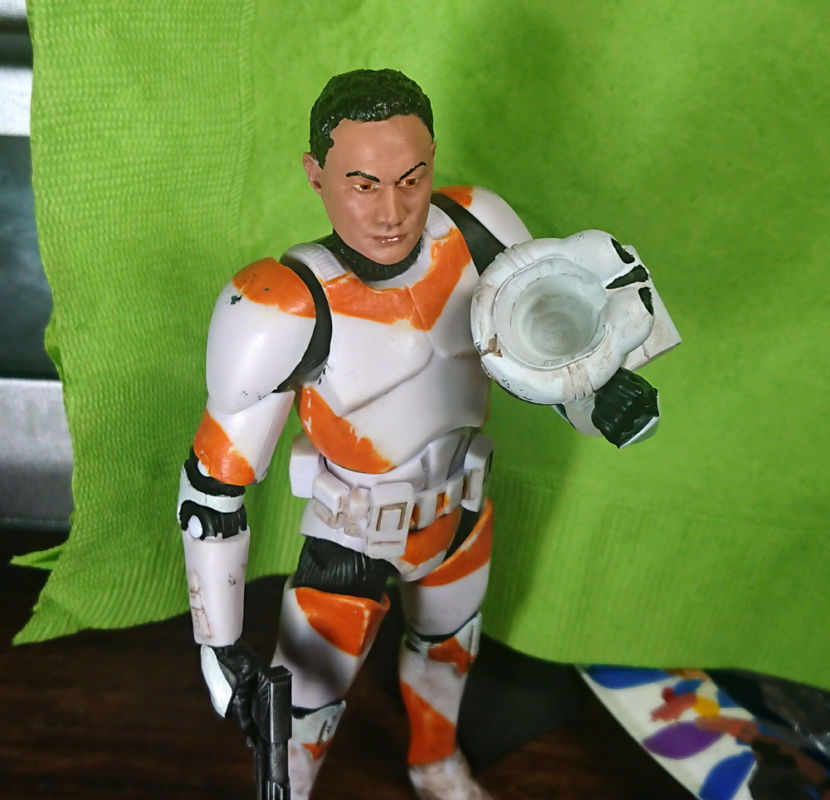