Optic Implants Custom Tutorial
Better than tying a hunk of leather to your face!

Please wait...
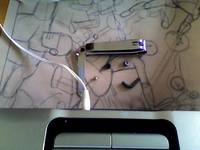
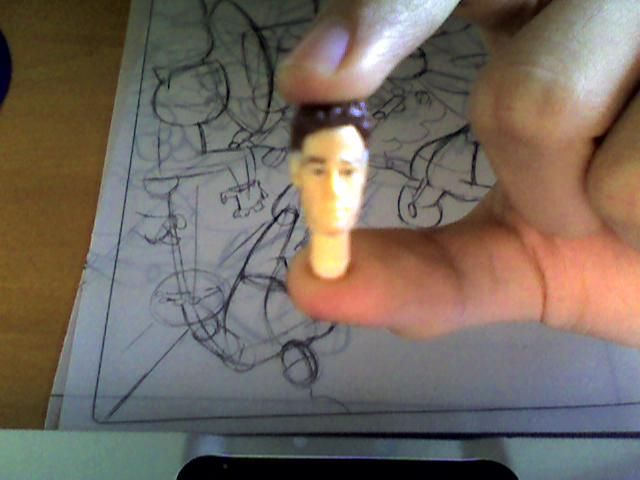
(add picture 1 here please)1. Find a nail clipper, a cylindrical piece of fodder, and a head.
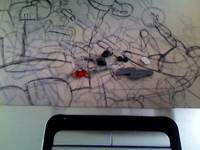
(add picture 2 here please)2. Reed will have an optic grafted into his head in this tutorial...
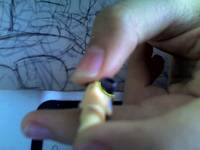
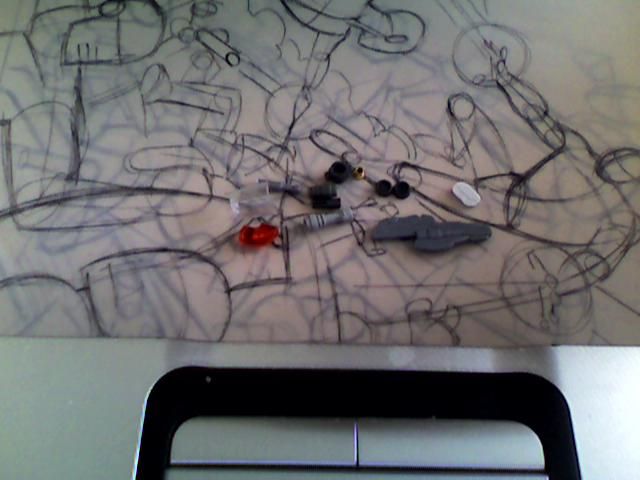
(add picture 3 here please 3. Find more fodder, such as vents, ports, and wires to emphasize that 'cyborg' look.
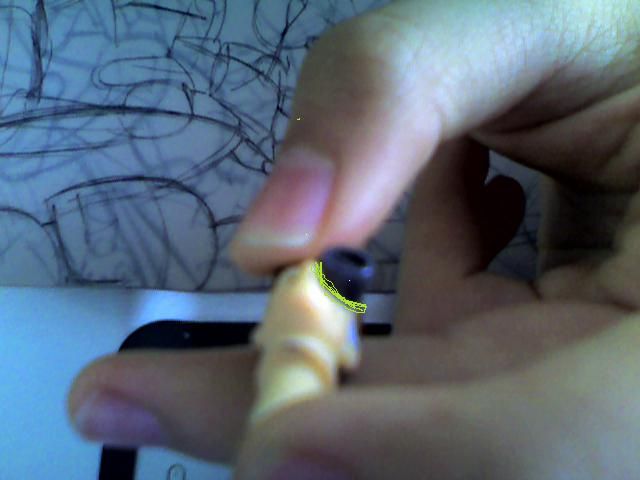
(add picture 4 here please)4. Study the silhouette of the brow and jawline, carefully clipping off pieces of the fodder so that it conforms to the face. If the optic has any indentifying features, make sure it is at the angle of preference it before chipping(such as the angled brace in front of the lens of Reed's optic.)
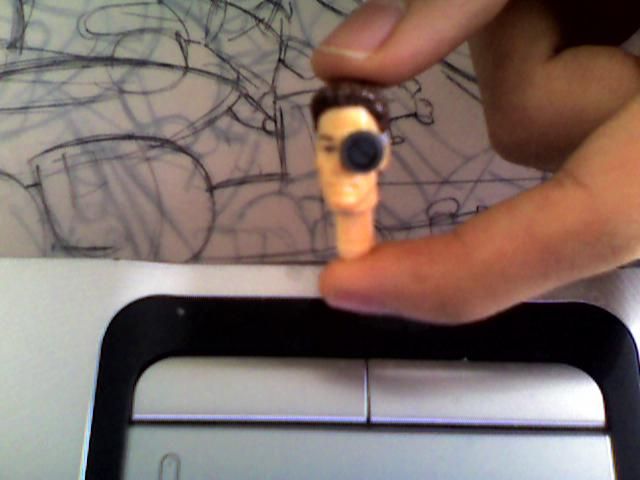
(add picture 5 here please)5. After several test-fits, carefully glue on the optic, and quickly wipe away excess adhesive. Use putty, gap filler, etc. to minimize the gap between the optic and the face. Add paint or other details as preferred...ocular prosthesis complete!
Disclaimer
Customize at your own risk!
Customizing can be a fun, but dangerous hobby. These tutorials are contributed by other customizers. Some of the things recommended in the tutorials may be dangerous, such as the use of boiling water or sharp objects. You shouldn't attempt anything mentioned without adult permission and supervision. Figure Realm and/or the authors of the tutorials are not liable for any injuries or damages occurring from any attempt to follow suggestions in these tutorials.
User Comments
Custom on eBay
Previous / Next Custom Tutorial


 Update Your Tutorial
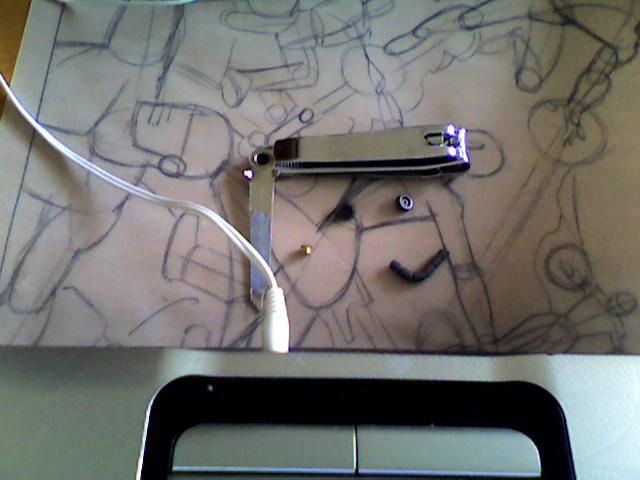