Fixing Waist Joints Custom Tutorial
How to use spare screws and other misc parts to repair broken waist joints.

Please wait...
I was very happy to receive a Marvel Legends Maestro Hulk from a seller on the FB Group Action Figure Junkies. Maestro broke at the waist when I sat down to start customizing him! I was not surprised, this can happen and depends on a number of factors including production issues and/or environment or similar and was not the sellers fault.
I was surprised by the waist joint style though, I hadn't encountered that style of joint before. Long story short it was broken and needed some tender loving care before I even considered handing it over to my son custom yet or not.
In order to do repairs you need more than the materials you use to customize such as spare screws, washers, plastic anything... no really any little small plastic part or leftover piece should be saved and thrown into a fodder bin of parts to use for repairs.
As you can see in the pics I used spare repair parts from my fodder bin.
Things to note:
- How the figure fits together and how the joint should function are key to your success, know how it should work and try to repair it so it still functions in a similar fashion.
- You need a decent set of tools here such as:
-- Screw driver(s) and/or ones with interchangeable and multiple bit styles.
-- A Drill and different size drill bits.
-- Repair putty/Epoxy (Hint: JB Quickweld works fine in some areas otherwise use the recommended epoxy for repair).
-- Screws with built-on washers, plain screws, and separate washers.
-- Razor Blade or similar to shave spare plastic.
-- Prying tools, preferably with wide flat edges, for example a putty knife or very wide flat-head screwdriver instead of one that will dig into the plastic when prying at a certain area.
If you do not have many spare parts and a decent set of tools you may end up damaging the figure further or breaking it entirely sadly so ensure you're set before you start!
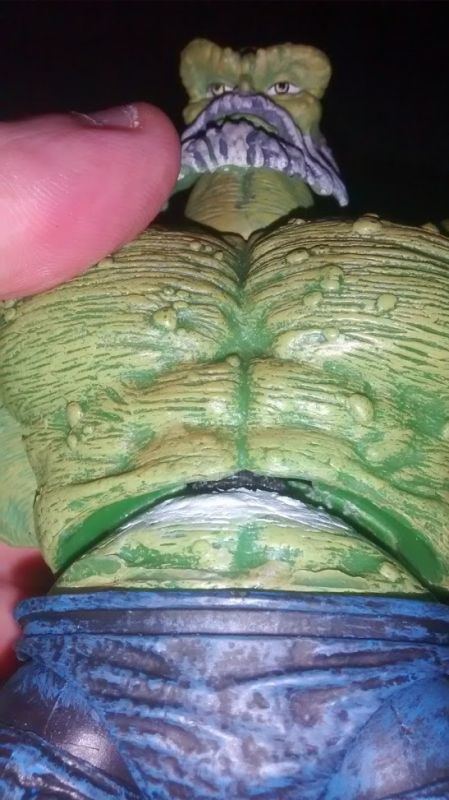
Waist
Fit end cap with screw into base, wedged it in there so it was a snug fit and so that screw was in the center of waist.
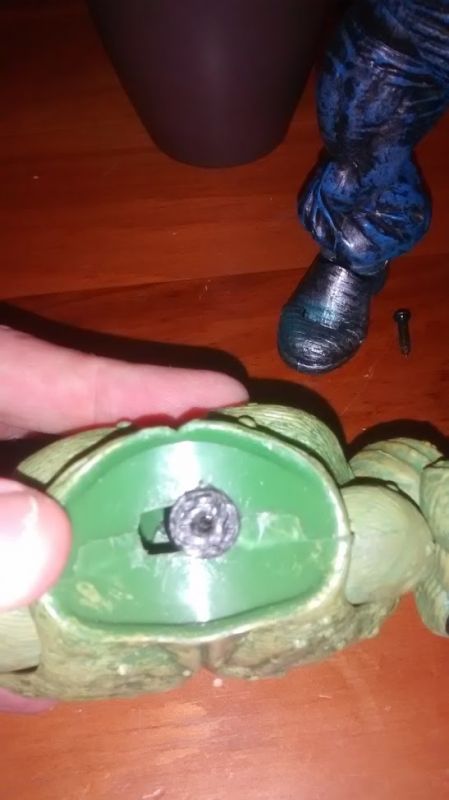
Inside of Chest/Waist
On these particular figures its a spring based setup with two plastic washers inside a slim channel so it can slide. As you can see the top part was fine however in order to fix this I had to carefully hand-drill a hole for the screw to enter properly (do not use a drill it will be too powerful).
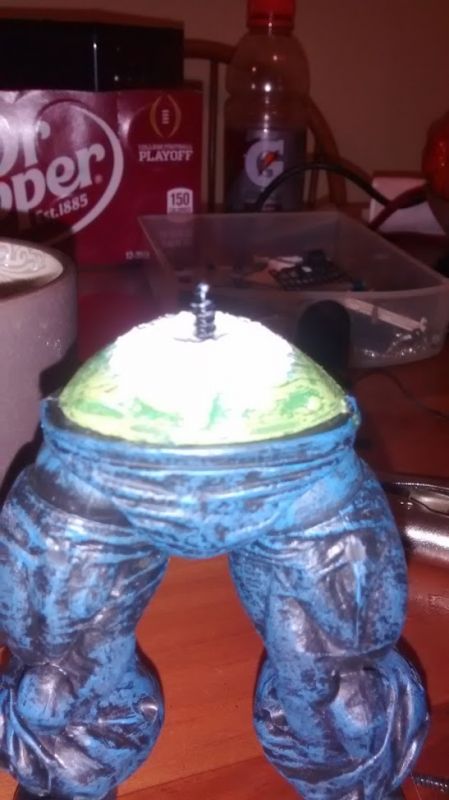
Pack it good with putty or epoxy
You want to fill in all the gaps, ensure the piece you added is not going anywhere, after all we're using some form or repair putty not super-glue lol!
Let the putty cure/dry completely
After packing it in, give it plenty of time to dry (cure) you can find cure time listed on most products.
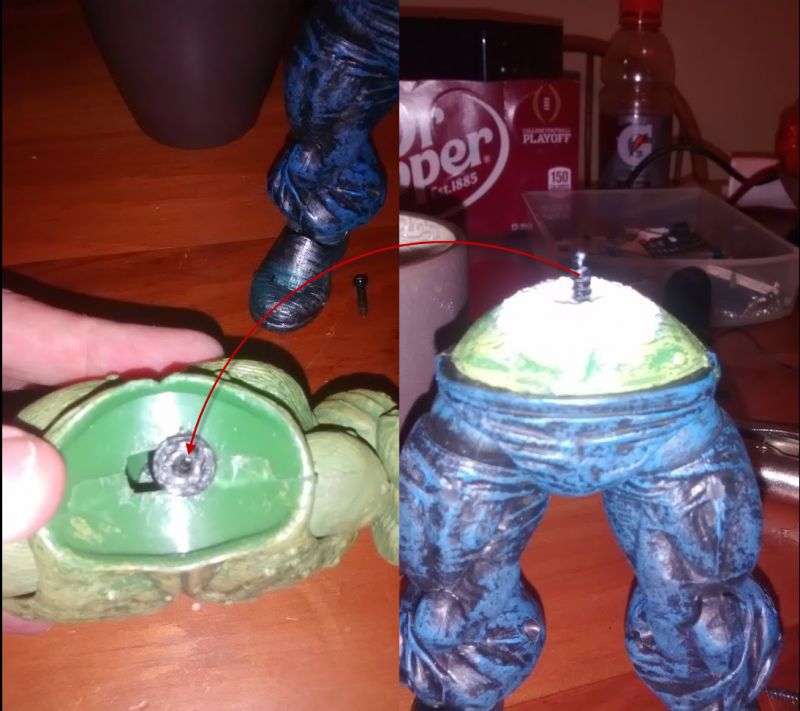
Attach the pieces
Carefully attach the two pieces by screwing them together.
More space at articulated area
As I mentioned below the one drawback is some fixes add more space/room to a joint area. Try to avoid this when you're brainstorming how to fix the figure. As you can see in this shot, I had to re-use the bottom of the default joint part so instead of it being placed lower inside the figure it had to be placed higher and outside th enormal cutout it travels in therefor it added nearly 1/8th of an inch to the waist - not ideal however the figure is fixed and has similar articulation as it did prior to breaking. *Don't forget to paint the fixed area before assembling, I did whoops!
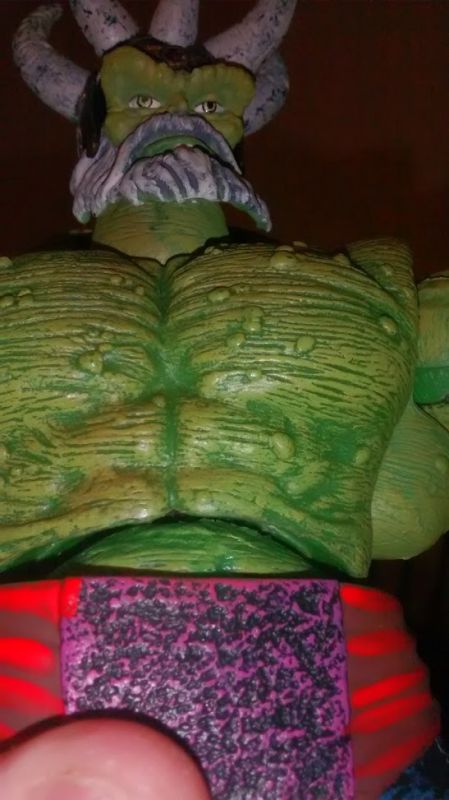
Paint to Match
I went back and painted the epoxy after it was together - I forgot to do this before assembling so don't forget as its much easier to paint beforehand. As you can see I used two greens, a fluorescent green and a flat olive drab flat colors to match hulk's green color. Since I painted after assembly I took my time and used some q-tips to wipe it, several layers were required for it to soak the paint into the epoxy properly.
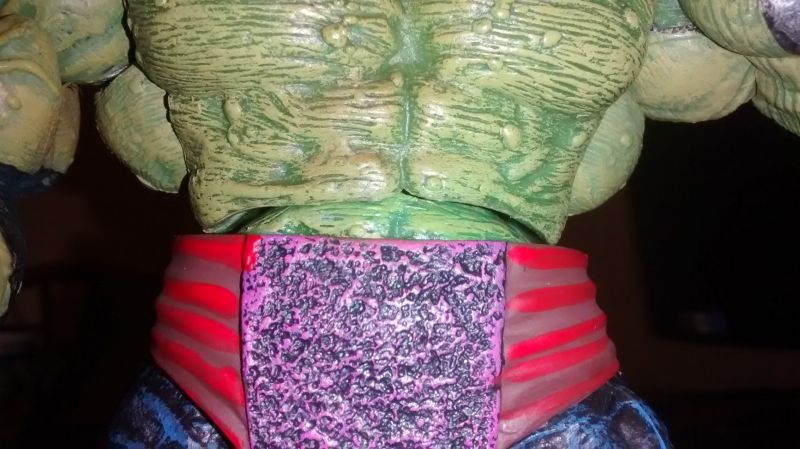
Paint to Match
A Close up view of paint applied.
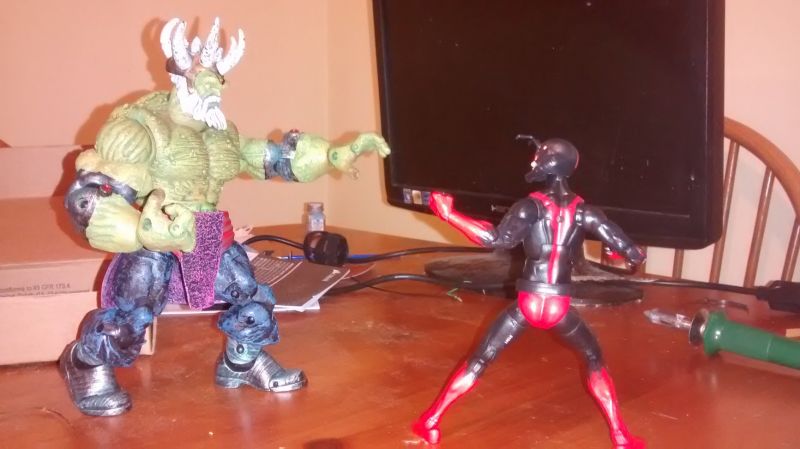
The Final Product - A Fixed Figure
Fixed with working waist articulation and ready to smash Ant-Man!
You can see from the pictures that:
- I used a spare plastic end cap to an old doll playset of my youngest daughters, flipped it upside down and ran a screw through the bottom.
- I removed the soft plastic belt accessory as it was in the way.
- I selected a drill bit that was the same size of the screw (with the threads being larger than the actual bit, the solid non-thread part of the screw is what I compared to the bit. DO NOT use a very large drill bit otherwise your screw will not easily "grab" the inside of the drilled hole... you want it to grab but not be a pain in the butt to actually attach when screwing your pieces together. *Not all fixes provide you the room to use an actual screw driver on a screw head therefor you must attach the pieces turning it by hand.
- I then took JB Waterweld (whatever cures quickest imo) as it was leftover from a recent pool project and packed it in around the plastic end-cap thereby filling in the spare space while also "securing" it to the inside of the broken waist area although a related type repair epoxy for figures will work best.
- GIVE IT PLENTY OF TIME TO CURE NO MATTER WHAT YOU USE.
- Carefully Attach your fixed part tot he main body and viola, it's fixed!
- If the figure had a belt similar to Maestro's, use a hair-dryer to heat it up and make it very pliable, then carefully work it back on from feet up to waist and now your belt is back on. The reason we did this last is because the belt would have been in our way when fixing the figure.
Optional:
- After your putty dries, sand it slightly with fine grit sand-paper.
- After sanding apply paint (as you can see I forgot initially then had to go back and add the paint - DOH!). Depending on the putty used and the area you may get by with using markers if the colors are close but only if it's a joint area not normally visible unless being articulated in some odd manner.
Tip: If working with something that turns/rotates but you are hand-screwing it in (when you cannot use a screw driver on the head of the screw) pry a flat-head screwdriver or small drill bit between it and another piece of plastic to prevent it from rotating while you screw in your fixed part.
*Sometimes the one drawback to this is, on some occasions depending on how you fixed it, gaps or more room in some joint areas will be visible however the figure is now usable and can be enjoyed again!
Remember everyone, a broken figure does not mean it's dead, it just means you need to figure out how to fix it and make it happen! Only put truly broken action figures into your fodder bin and enjoy the ones you save!
Disclaimer
Customize at your own risk!
Customizing can be a fun, but dangerous hobby. These tutorials are contributed by other customizers. Some of the things recommended in the tutorials may be dangerous, such as the use of boiling water or sharp objects. You shouldn't attempt anything mentioned without adult permission and supervision. Figure Realm and/or the authors of the tutorials are not liable for any injuries or damages occurring from any attempt to follow suggestions in these tutorials.
User Comments
Custom on eBay
Previous / Next Custom Tutorial


![Fixing Waist Joints Custom Tutorial Picture #1 [Waist]](userimages/customtutorials/100/thumb_93-1-562721147b437.jpg)

![Fixing Waist Joints Custom Tutorial Picture #2 [Inside of Chest/Waist]](userimages/customtutorials/100/thumb_93-2-56272145714e0.jpg)
![Fixing Waist Joints Custom Tutorial Picture #3 [Pack it good with putty or epoxy]](userimages/customtutorials/100/thumb_93-3-562721a8acf9d.jpg)
![Fixing Waist Joints Custom Tutorial Picture #4 [Let the putty cure/dry completely]](userimages/customtutorials/100/thumb_93-4-562721fa465df.jpg)
![Fixing Waist Joints Custom Tutorial Picture #5 [Attach the pieces]](userimages/customtutorials/100/thumb_93-5-5627f04819a44.jpg)
![Fixing Waist Joints Custom Tutorial Picture #6 [More space at articulated area]](userimages/customtutorials/100/thumb_93-6-56272231b8e54.jpg)
![Fixing Waist Joints Custom Tutorial Picture #7 [Paint to Match]](userimages/customtutorials/100/thumb_93-7-5627f15963c3d.jpg)
![Fixing Waist Joints Custom Tutorial Picture #8 [Paint to Match]](userimages/customtutorials/100/thumb_93-8-5627f2b2e9e96.jpg)
![Fixing Waist Joints Custom Tutorial Picture #9 [The Final Product - A Fixed Figure]](userimages/customtutorials/100/thumb_93-9-5627f2f51aa28.jpg)
 Update Your Tutorial
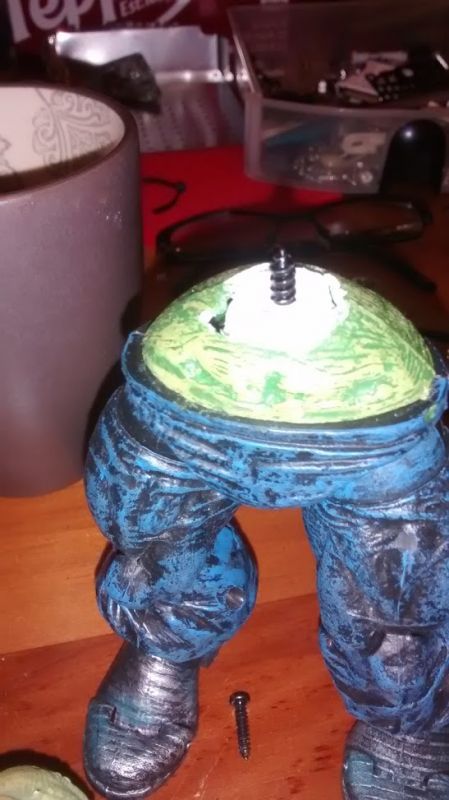