Posable Capes Custom Tutorial
So this is just an example of how one can go about making a custom cape or cloak that isn't just a hunk of plastic.
This custom tutorial was contributed by
Deaditor
Please wait...
For this tutorial Robin from Arkham city will be a basic example.
Design
To start off, I look at reference material online and play the game to understand the nature of the cape. Once I've done that I take the cape off the figure and place on a piece of a4 paper and mark its height. Then I take the figure without his cape one and place it on the paper to get a rough idea of how wide I want the cape and mark out the areas where his hands are and the neck/ hood head area will be. After some rough lines on the left side I figure out the proper shape and then take a ruler to mark it out. I also have a space above the design to allow for folding the cape later on and make the cape slightly taller than his plastic one to allow it to be place on him like the plastic design (over his shoulders and round neck).
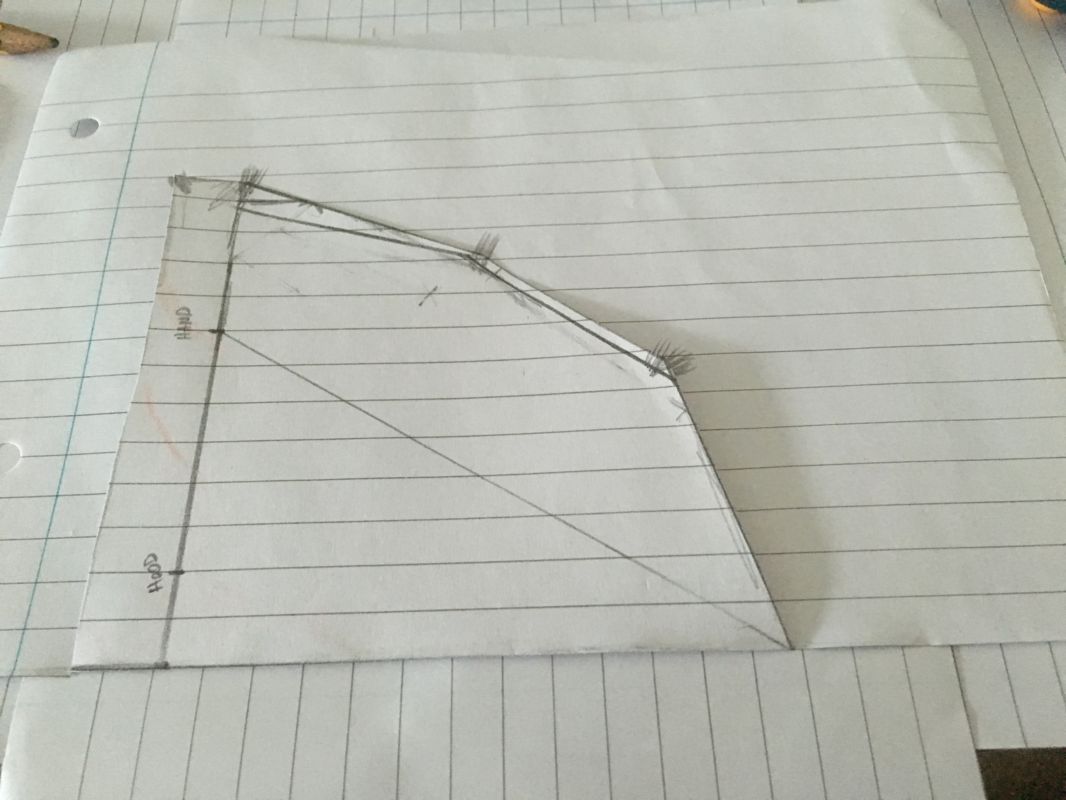
Fold the paper
For symmetry, cut out the shape on the left and fold to get a perfect symetrical shape. Mark out the corners then go over with a ruler.
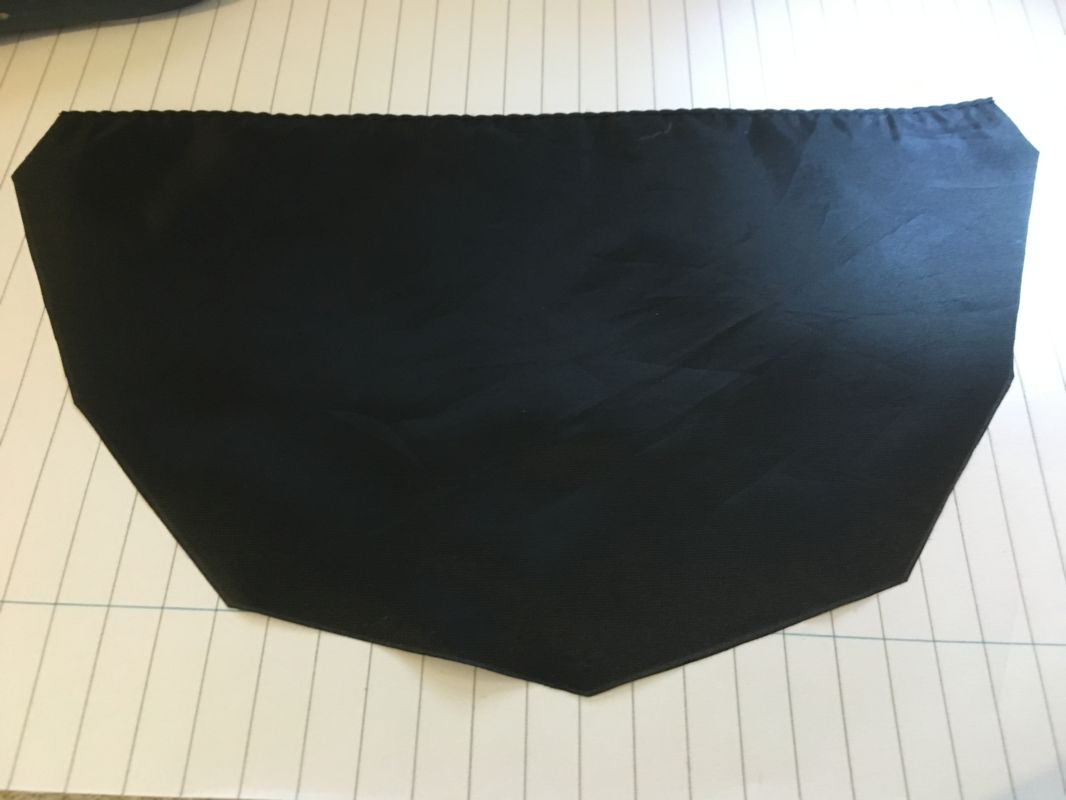
Side A
For material of the black part of the Cape I used an old black umbrella which I ironed flat, traced the design onto and cut out. If this was just a black cape this is where you'd skip ahead by folding the top portion, which you can see has angled edges to, over to top area of the cape and sew up with a wire between. But as this is a cape for Robin that happens later.
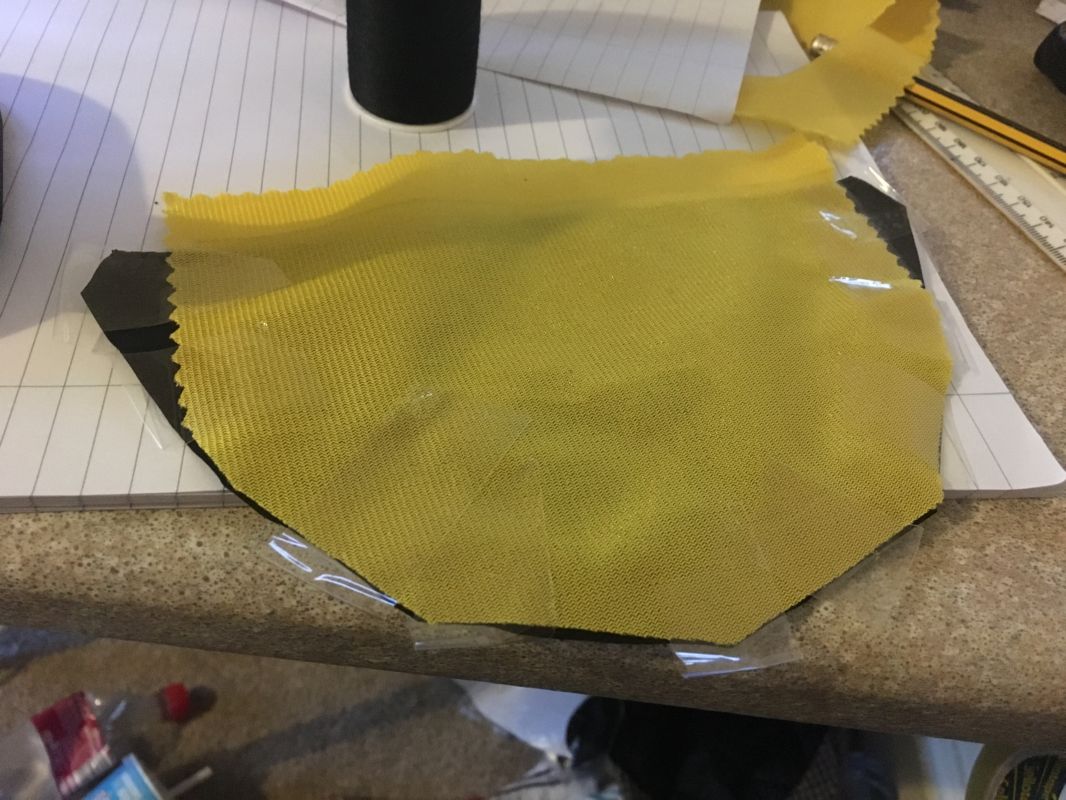
Side B
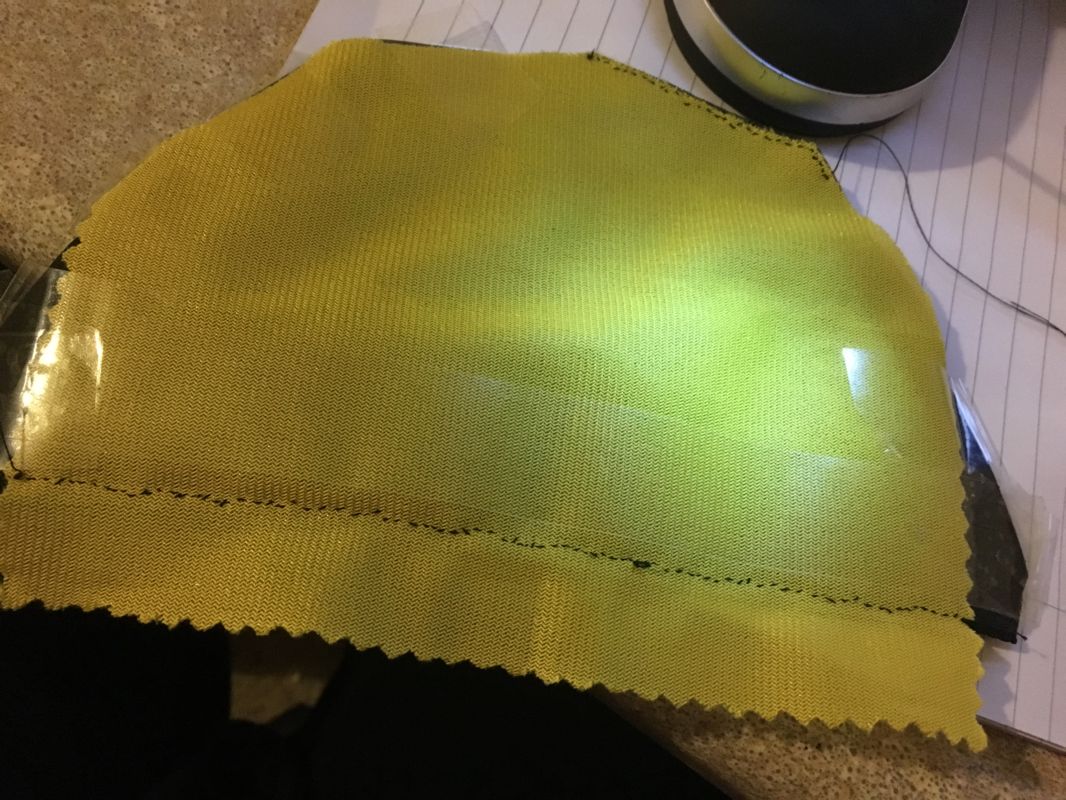
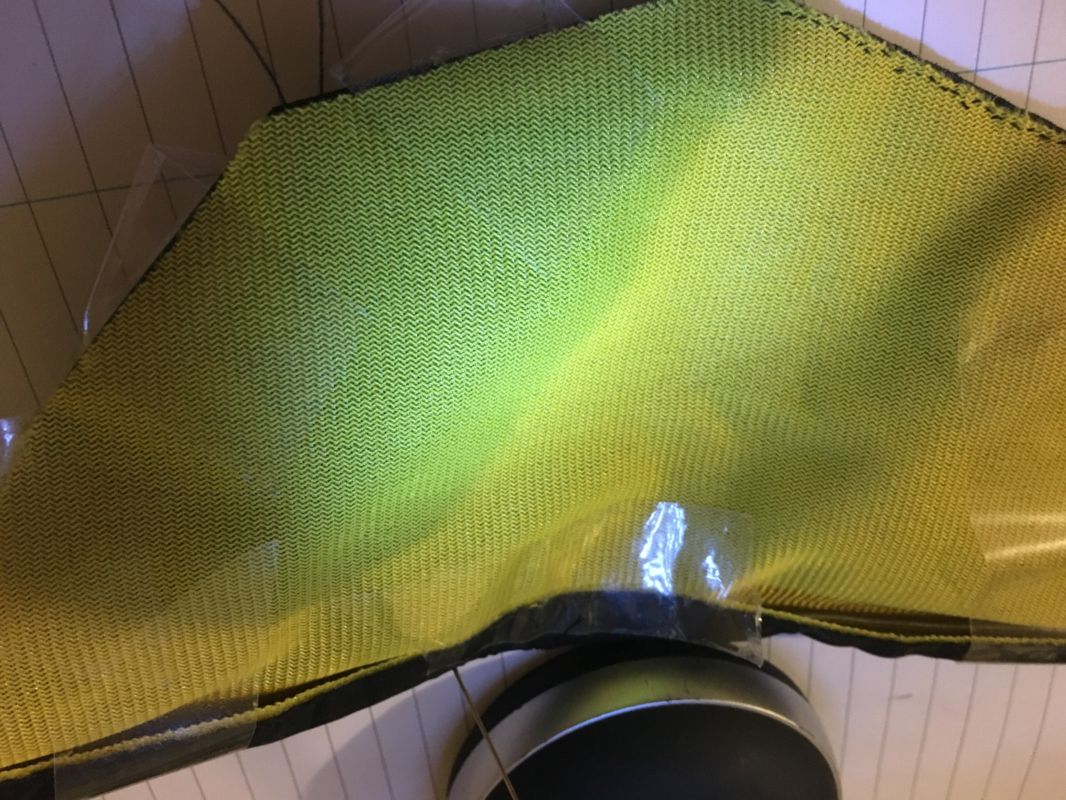
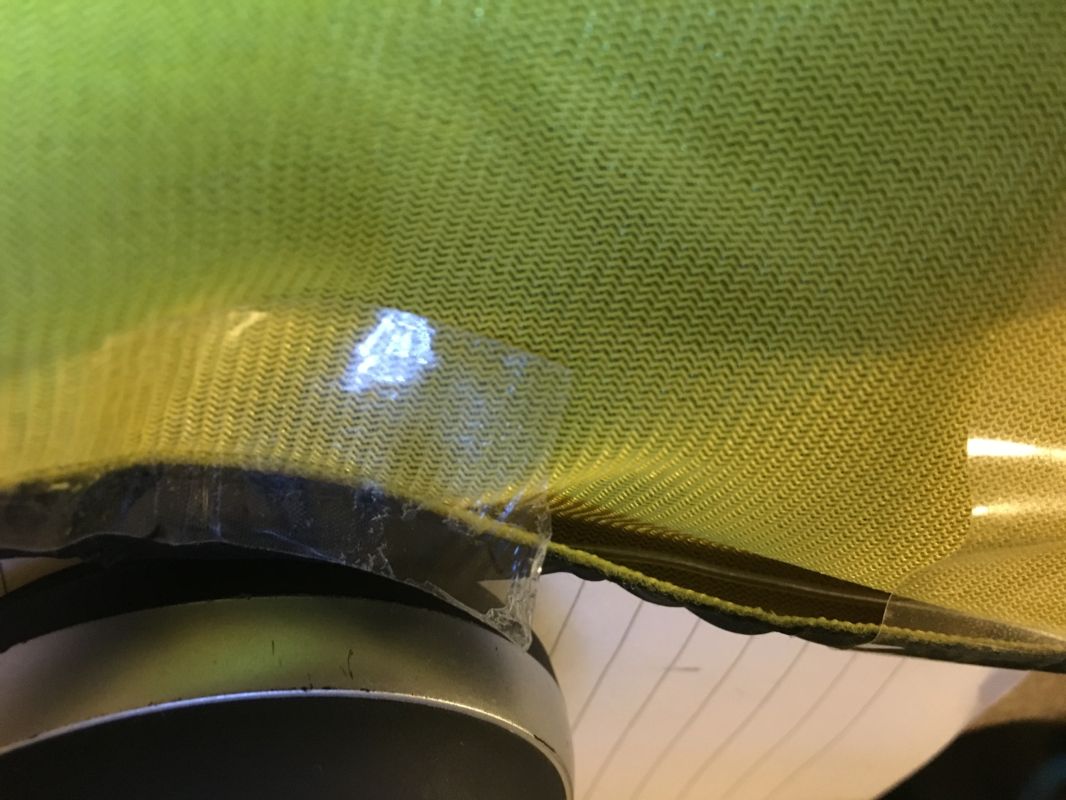
So again I took material ironed it traced the design and cut out. This cloth was a bit too small and left some areas blank so j had to deal with that later, but for now the next step is sowing the top edges so I taped up the top wing corners to allow me to easily see. Do not tape over the area you are sowing only near it to hold the design still.
Sowing
As you can see I've sowed the top part and started the bottom, again use tape for support and remove carefully to not tear the fabric. Trim off any excess material.
The top
Now that you have sowed the top area as shown in the previous step carefully fold the material over aligning the corners of the slopes top part and the start of the wing part and tape one side. Once done you can start to see across but wait til you see the next step!!!
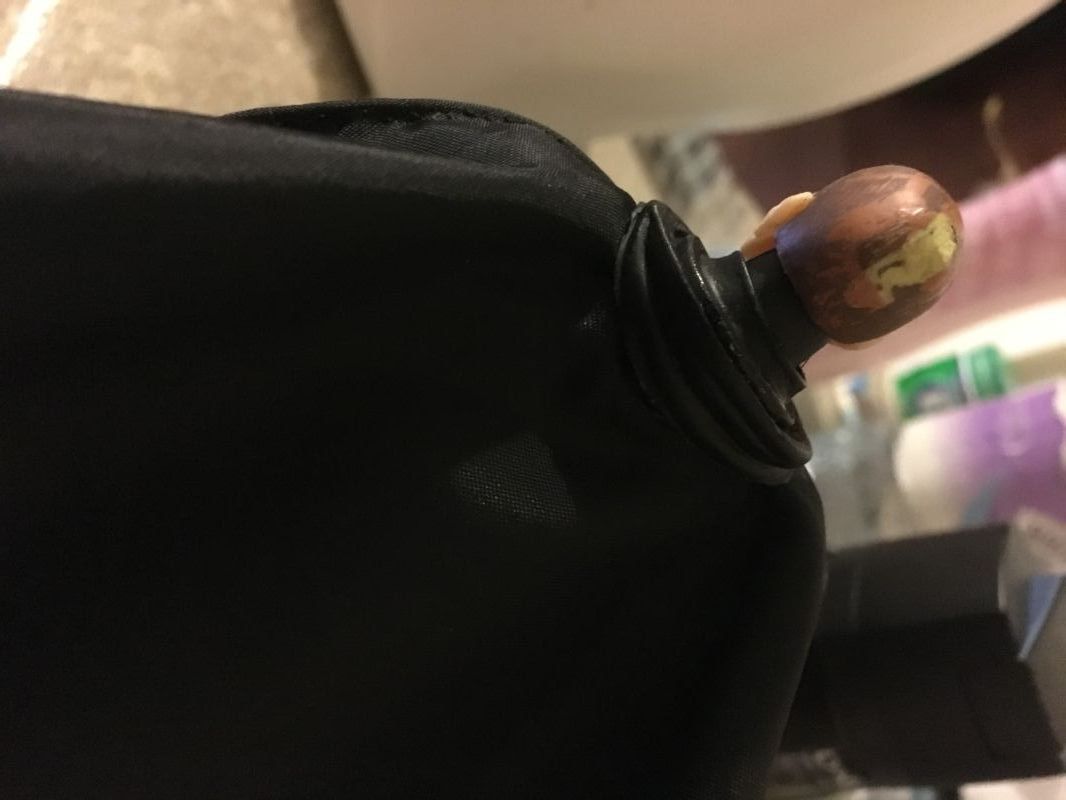
The wire (not the show)
Look inbetween the two sides of tape on the cape. Notice anything? I have placed a bendy wire in there. Now the best easy to find wired would be the ones you get with action figures you left lying around saying I can use this for... Place the wire in the folded area before you start to sow then you're ready.
Almost done but not quite!
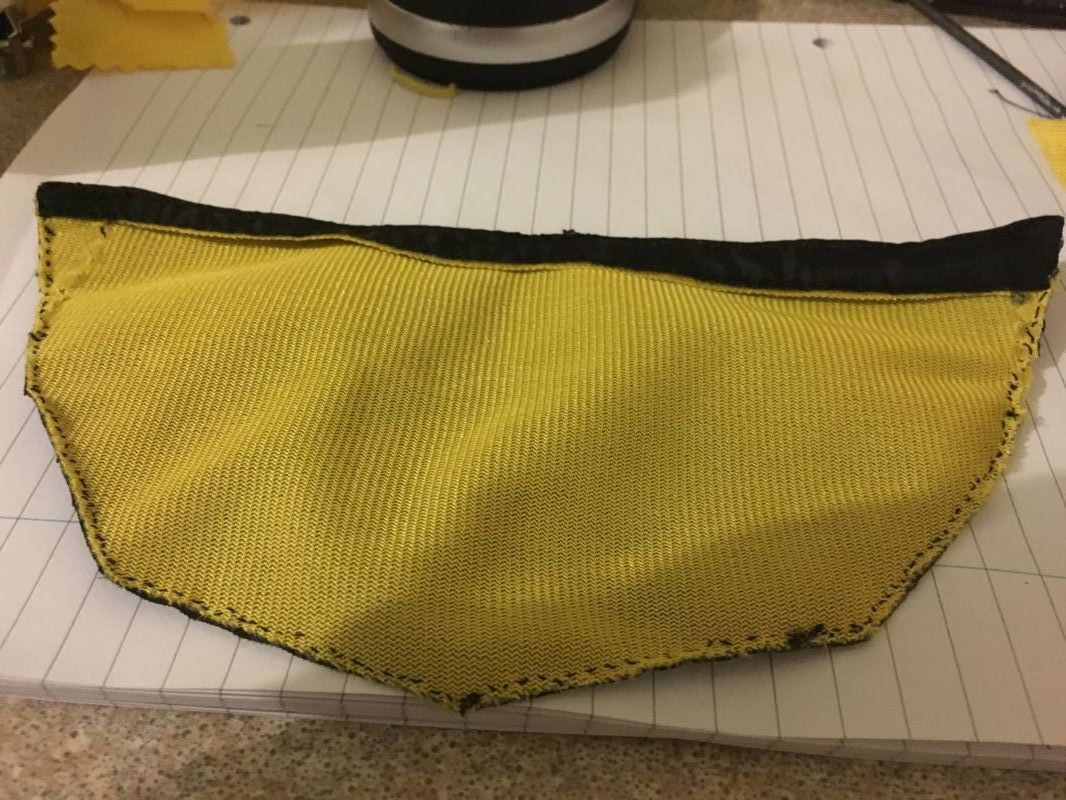
When sowing the top part ( the folded area that becomes black in this picture) pinch beneath The wire to make it a tight fit when you sew beneath that area to it is tight and strong and held in place. You may notice the gaps earlier mentioned in the side have been filled up. I just glued more of my yellow cloth to the already in place one and sewed the edges. Don't worry about stitching being black on yellow as you can remedy this with paint.
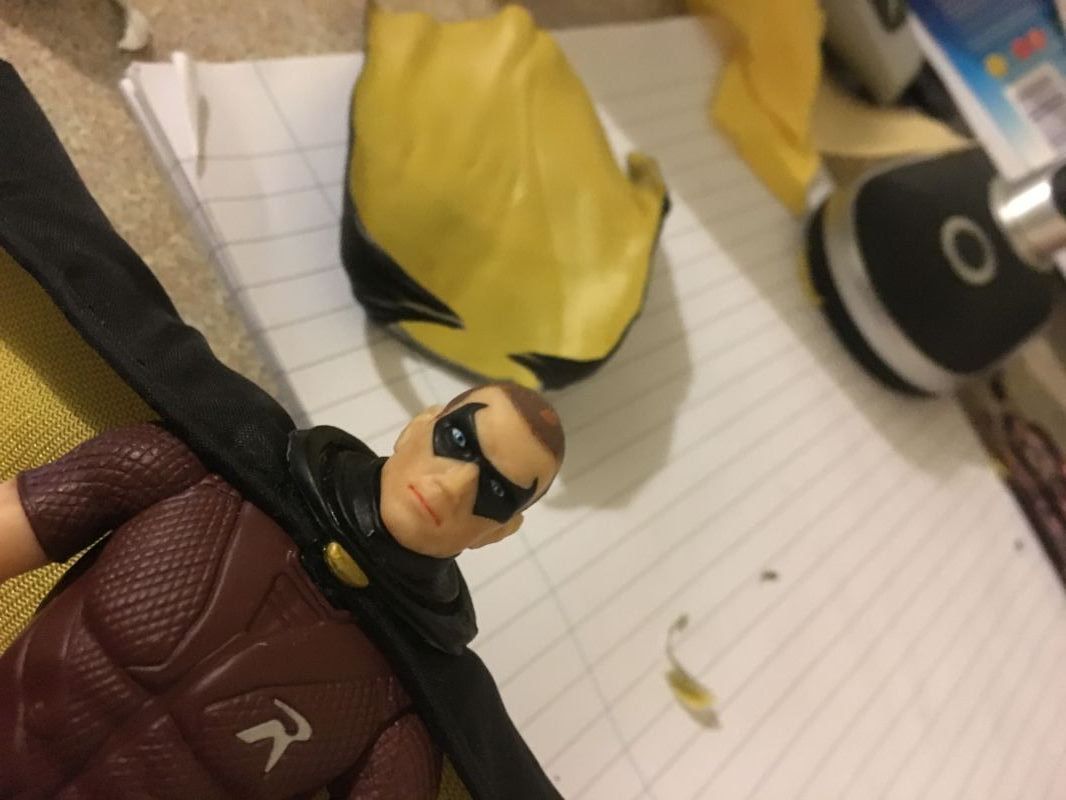
Cape time
So for any figure that already has a cape made of rubber or plastic the obvious thing to do is remove it. So that's wage I died, carefully pulled it off. You can fill the gaps in his arms with clay or epoxy etc and paint over but the main thing is the design. Robin is a special case as he has the plastic hood which you want to keep . So I removed the top portion of the plastic cape. I cut a hole in our new cape at the top, just a small one and slipped it over his head. Then glued just beneath the cape where it meets the body on the front back and sides whilst keeping the cape outstretched. Next I took the piece I removed from the plastic cape and slid it back over his head and glide the front and back of it over my custom cape. This allows you to keep the removable hood. I say removable but the reality is its attached to his head like the cape was so I removed and filled his head cavity with epoxy like any good surgeon and painted and reinforced with glue.noh and cut out the lump left inside the hood.
Voila
As you can see that's it, the fixture in his head and the cape is done. Hope this helped if not I enjoyed it. Check out my actual Robin custom when he's done!
Disclaimer
Customize at your own risk!
Customizing can be a fun, but dangerous hobby. These tutorials are contributed by other customizers. Some of the things recommended in the tutorials may be dangerous, such as the use of boiling water or sharp objects. You shouldn't attempt anything mentioned without adult permission and supervision. Figure Realm and/or the authors of the tutorials are not liable for any injuries or damages occurring from any attempt to follow suggestions in these tutorials.
User Comments
Custom on eBay
Previous / Next Custom Tutorial


![Posable Capes Custom Tutorial Picture #1 [Design]](userimages/customtutorials/100/thumb_95-1-5704e3b4db39c.jpg)

![Posable Capes Custom Tutorial Picture #2 [Fold the paper]](userimages/customtutorials/100/thumb_95-2-5704e47d387ba.jpg)
![Posable Capes Custom Tutorial Picture #3 [Side A]](userimages/customtutorials/100/thumb_95-3-5704e5715cd06.jpg)
![Posable Capes Custom Tutorial Picture #4 [Side B]](userimages/customtutorials/100/thumb_95-4-5704e6385de3c.jpg)
![Posable Capes Custom Tutorial Picture #5 [Sowing]](userimages/customtutorials/100/thumb_95-5-5704e6e10e63e.jpg)
![Posable Capes Custom Tutorial Picture #6 [The top]](userimages/customtutorials/100/thumb_95-6-5704e7373ac38.jpg)
![Posable Capes Custom Tutorial Picture #7 [The wire (not the show)]](userimages/customtutorials/100/thumb_95-7-5704e7d4951a8.jpg)
![Posable Capes Custom Tutorial Picture #8 [Almost done but not quite!]](userimages/customtutorials/100/thumb_95-8-5704e978c936b.jpg)
![Posable Capes Custom Tutorial Picture #9 [Cape time]](userimages/customtutorials/100/thumb_95-9-5704e96da444e.jpg)
![Posable Capes Custom Tutorial Picture #10 [Voila]](userimages/customtutorials/100/thumb_95-10-5704eaf3e8bcb.jpg)
 Update Your Tutorial
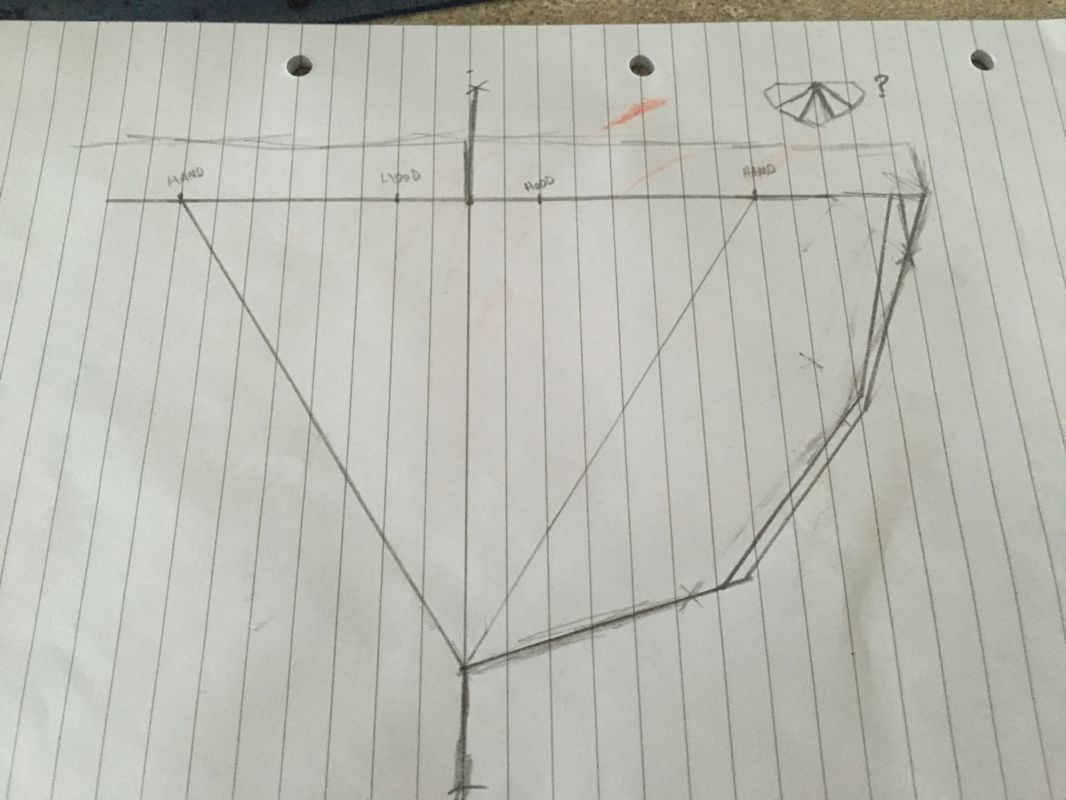