How to paint a figure's face.
Since it uses the translation software, it has become the funny English pardon.
(Nightmare's Note: I roughly translated the sections, feel free to laugh and/or cry at my attempt. My translations are in brackets below Koji's text.)
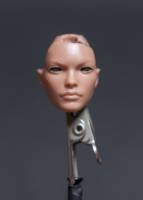
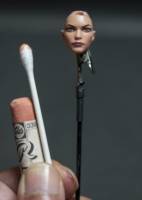
Dropped the paint, you or cut if there is a place to be worried about. (This is cutting the cheeks and chin and eyebrows)
[Remove all the old paint. Modify the head as needed.]
Painted in black mold of the eye. It is rough and fine.
[Fill in the eye with black. It's okay if it isn't neat or a solid coat.]
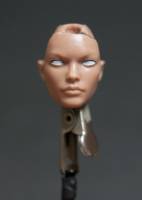
Leaving the edge of the upper eyelid is painted white. Usually is avoided resulting in cloudy color when you paint the white over the black, but think better of this method is that it is easy for people who are not familiar with the brush, very well because it does not stand out small if this size It's okay.
[Fill in the eye with white, leaving a thin line of black on the upper eyelid. Usually you would avoid painting white over black because it doesn't cover well, but at this scale it's not a problem. Having an off-white color gives a more natural effect too.]
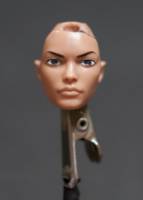
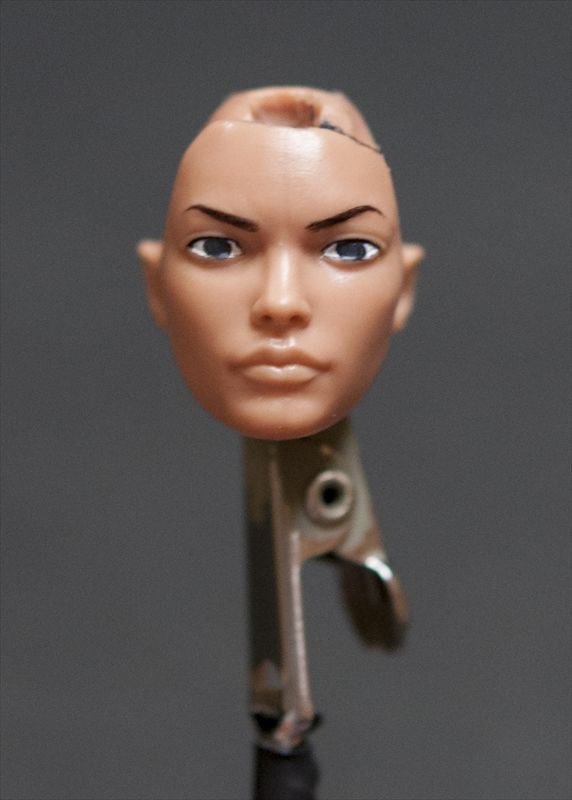
Apply a iris in gray. It does not matter black, but personally I think the color is too strong. Then, fill the holes in the nose to draw the eyebrows. Please to consolidate their approximate image in this step.
[Fill in the iris with grey. Black is okay, but I think it's too strong.
Now draw the eyebrows, using the nostrils as a guideline for a starting point.]
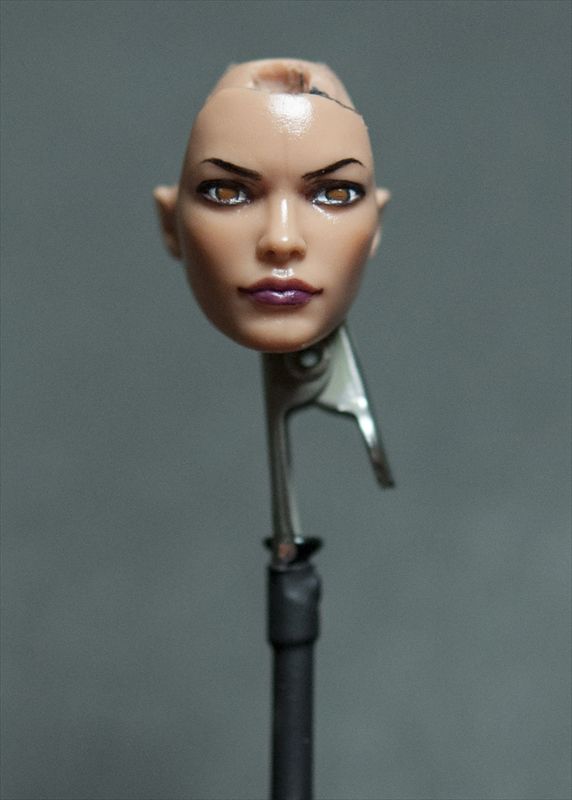
A little leaving the outer frame of the pupil painted in gray, you fill in the color of your choice. In addition, we paint the eyelids and the eye of the mucous membranes.
[Fill in the iris color of your choice, leaving a little of the grey on the edges.
Also paint the lower eyelash line. Maybe use a thin or translucent layer of black since the bottom eyelashes are shorter.]
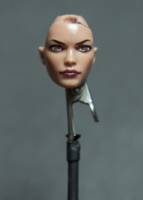
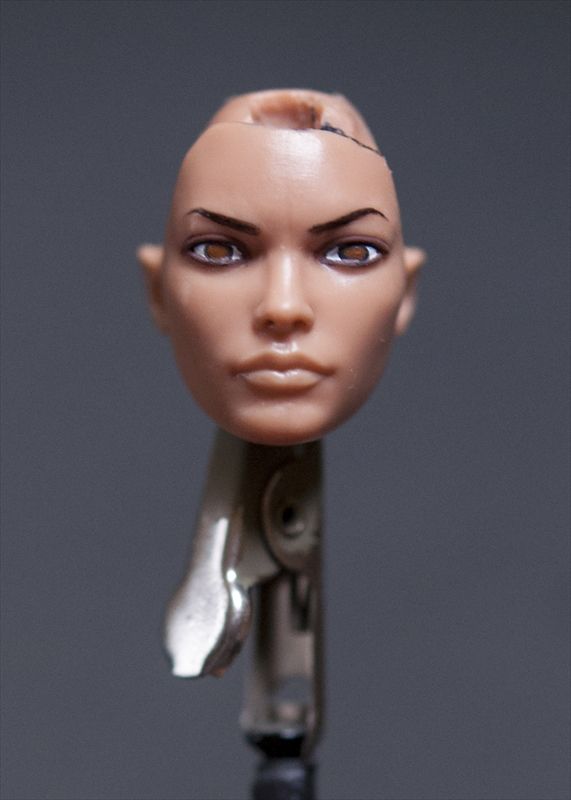
Paint the lips, draw a such as the corner of the mouth in the taste.
[Paint the lips. The corners of the mouth can change the expression of the face, so pay attention to the shape you make them.]
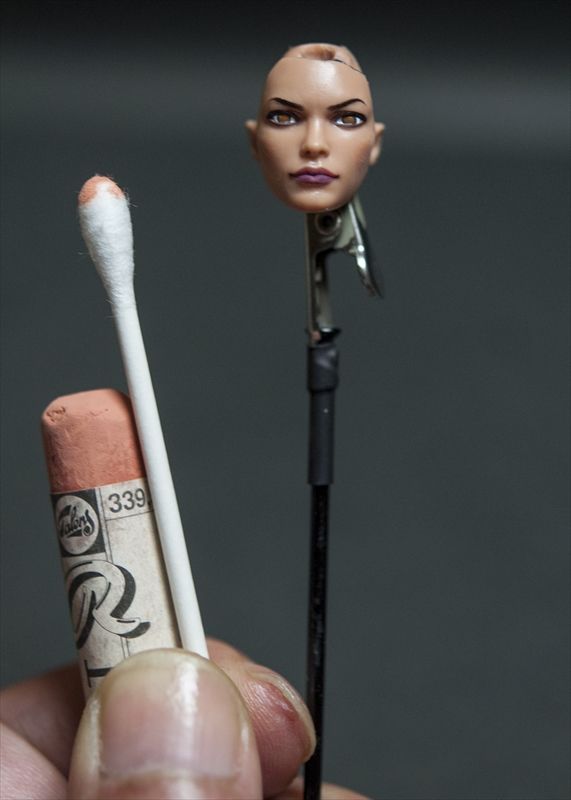
Apply teak. Paint with a brush to dilute the paint, there is also a method such as airbrush, but this time you have smeared the pastel with a cotton swab. Recommended so easy. The trick is not likely to try Nuro at a time, that overlap several times painted a pale color.
[Apply a shade or blush to the cheeks. Here I use a pastel stick and dab it on with a cotton swab in multiple light layers, it's so easy.]
After correcting the flash or unpainted place of paint, and spray the "clear" to the whole in spray cans or airbrush for the protection of pastel and paint film.
[After correcting any mistakes, use a spray sealer to protect the pastel and paint. Dont use a brush-on sealer because it will ruin the pastel.]
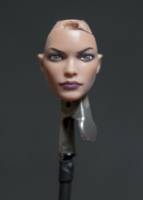
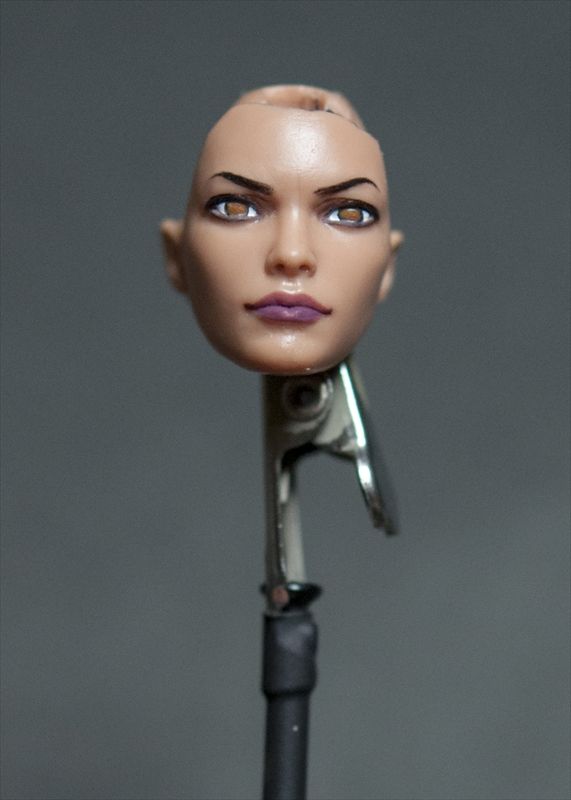
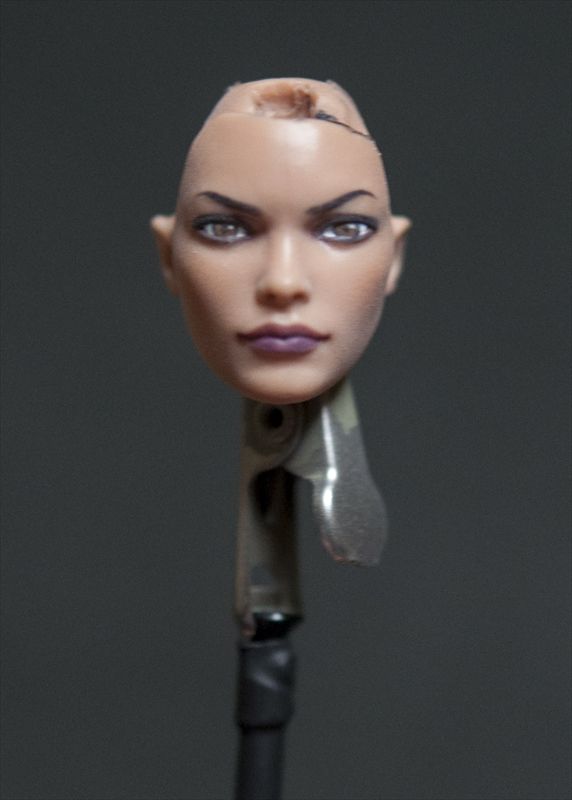
Paint the pupil in the black, paint the highlights in white. Position of the pupil, balance and draw a little above the middle or the middle is good think. After that, it's time to spray the "matte clear" to the whole.
[Paint the pupils black, and add white highlights, a little above the middle is good.
After that, it's time to spray it with a matte sealer.]
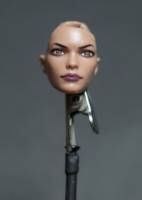
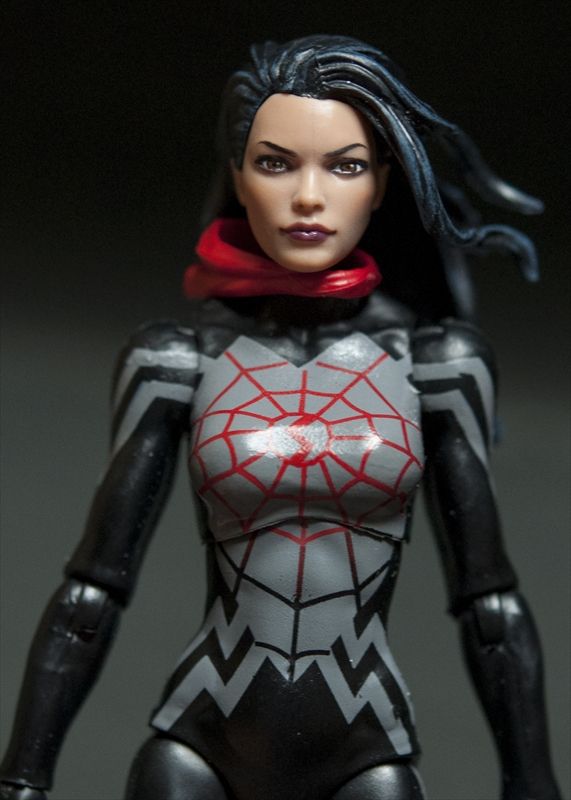
Fix the place to be worried about, paint complete with a brush to clear the pupil and the lip!
[Brush some gloss on the eyes and lips to add realism.]
In the personal experience and preference, the pupil and the lip is not the remains of the primary colors, I think that it fits in the skin and reduce the saturation of a little color. For example, if the ... "blue eyes", "blue + a small amount of gray", and so on if the "red lips", "red + a small amount of purple."
[I prefer to desaturate the eye and lips colors. For example, add a little gray to the blue eye paint, or a little purple to red lip paint.]
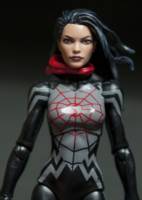
I tried to put together an easy to process as possible. I am glad if it helps with something.
Customizing can be a fun, but dangerous hobby. These tutorials are contributed by other customizers. Some of the things recommended in the tutorials may be dangerous, such as the use of boiling water or sharp objects. You shouldn't attempt anything mentioned without adult permission and supervision. Figure Realm and/or the authors of the tutorials are not liable for any injuries or damages occurring from any attempt to follow suggestions in these tutorials.


 Update Your Tutorial
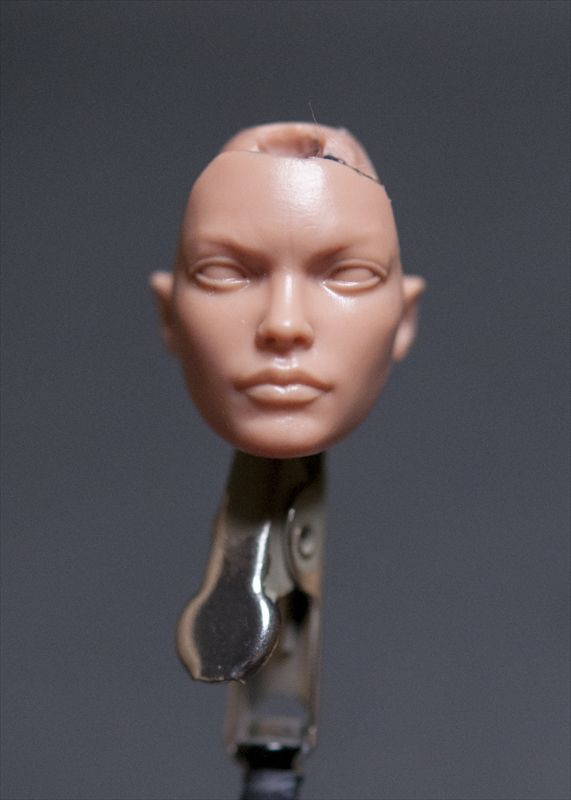
You can glue it back on, I like leaving things unglued though in case I want to use a hood or something.